During disasters such as hurricanes, tornadoes, earthquakes, or power failure, an emergency radio is very useful. These are specifically manufactured for working under extremely adverse conditions to broadcast weather and emergencies in case other communication gadgets do not work. Whether you have recently purchased one or are thinking of getting one, it is important to know how to go about using it.
An emergency radio is not like any normal radio that is available on the market today. It is designed to pick up AM/FM radio signals and may feature integrated NOAA weather channels that constantly provide weather updates. This feature is particularly useful during extreme weather conditions because information is crucial in such circumstances.
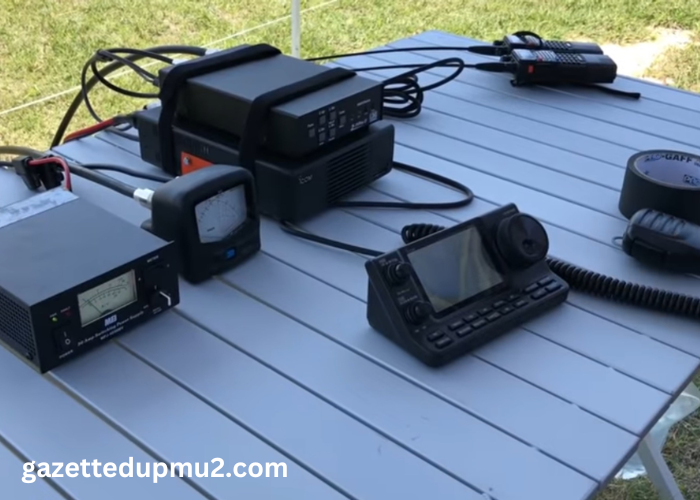
Setting Up Your Free Emergency Radio
Step 1: Powering Your Device
First, check that your radio is on. The vast majority of emergency radios are equipped with several powering methods like hand cranking, solar, battery and occasionally, USB options. Also, make sure that the radio is charged if it has a USB port for charging or is fitted with new batteries. It is advisable to use another power source like a solar charger if you are likely to be without power for a long time.
Step 2: Determining the Right Frequency
Switch on your radio and identify the AM/FM and the NOAA weather band settings. The control buttons or dials are usually uncomplicated and are sometimes indicated by labels. For NOAA channels, there might be a numeric setting or button on your radio. You should consult the manual that came with your radio since it will help you easily locate and tune into these channels, which will be useful in providing timely weather information.
Step 3: Setting Up Alerts
Common features of many emergency radios include alert functions that are designed to inform you of severe weather conditions. To activate these, search for an ‘Alert’ or ‘Warning’ mode on your free emergency radio. With this feature enabled, your radio will sound an alarm and any vital information as soon as it is released by the weather stations. This is especially helpful when you are asleep or occupied with other tasks in the event of an emergency.
Step 4: Testing and Maintenance of the System
Check your radio for features and the condition of the battery from time to time. Use it once in a few months to check all the components are functioning adequately and tune into any frequencies to check reception. Change batteries annually even if they have not been utilized since most kinds of batteries deteriorate with time.
Being Informed During An Emergency
Once your free emergency radio is set up and tested, store it in a convenient place where it can easily be reached. In an emergency, switch it on at once to get the updated information from the local news and weather stations. Staying tuned will enable you to know the extent of the disaster and respond as the local authorities advise.